
When Ancient Craft Meets Modern Making: The Asanoha Kumiko Tealight Holder
There's something deeply satisfying about bridging centuries of craftsmanship with contemporary fabrication techniques. Our latest project does exactly that - bringing the intricate beauty of traditional Japanese Kumiko woodworking into your workshop, whether that's a garage CNC setup or files sent to a local fabrication shop.
What is Kumiko anyway?
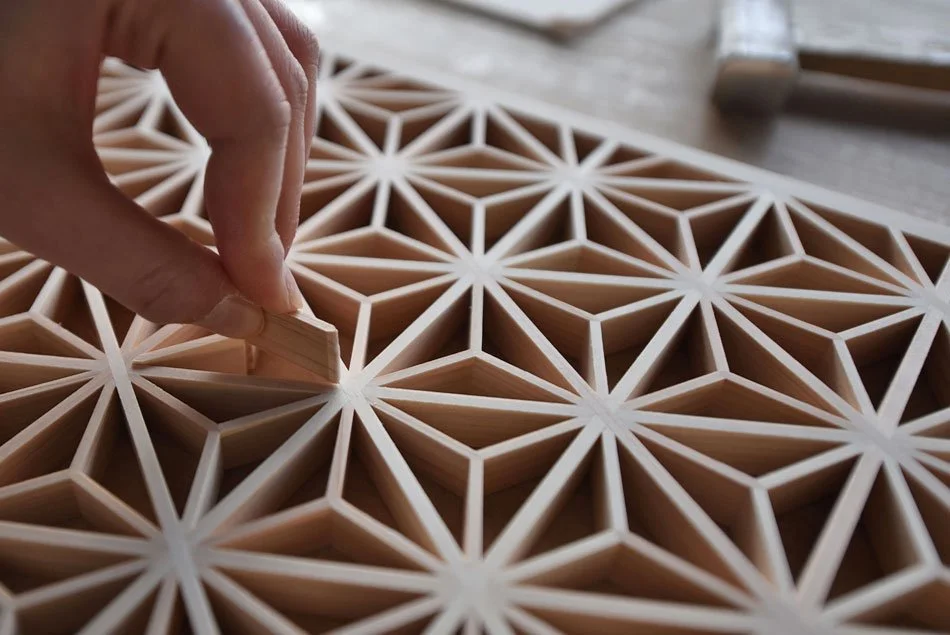
If you've never heard of Kumiko before, you're in for a treat. This traditional Japanese woodworking technique dates back centuries and involves creating intricate geometric patterns from small wooden pieces, all fitted together without nails or glue. The precision required is honestly mind-boggling when you think about craftspeople doing this entirely by hand with nothing but chisels and planes, something that is currently beyond our skillsets.
The Asanoha pattern we've chosen translates to "hemp leaf" and is one of the most recognisable patterns in Kumiko work. It's this mesmerising geometric design - interlocking diamonds radiating from a central hexagon creating a starburst effect. The symbolism around growth and resilience is a nice bonus, but really, it just looks absolutely stunning when light interacts with it.
Here's where it gets interesting
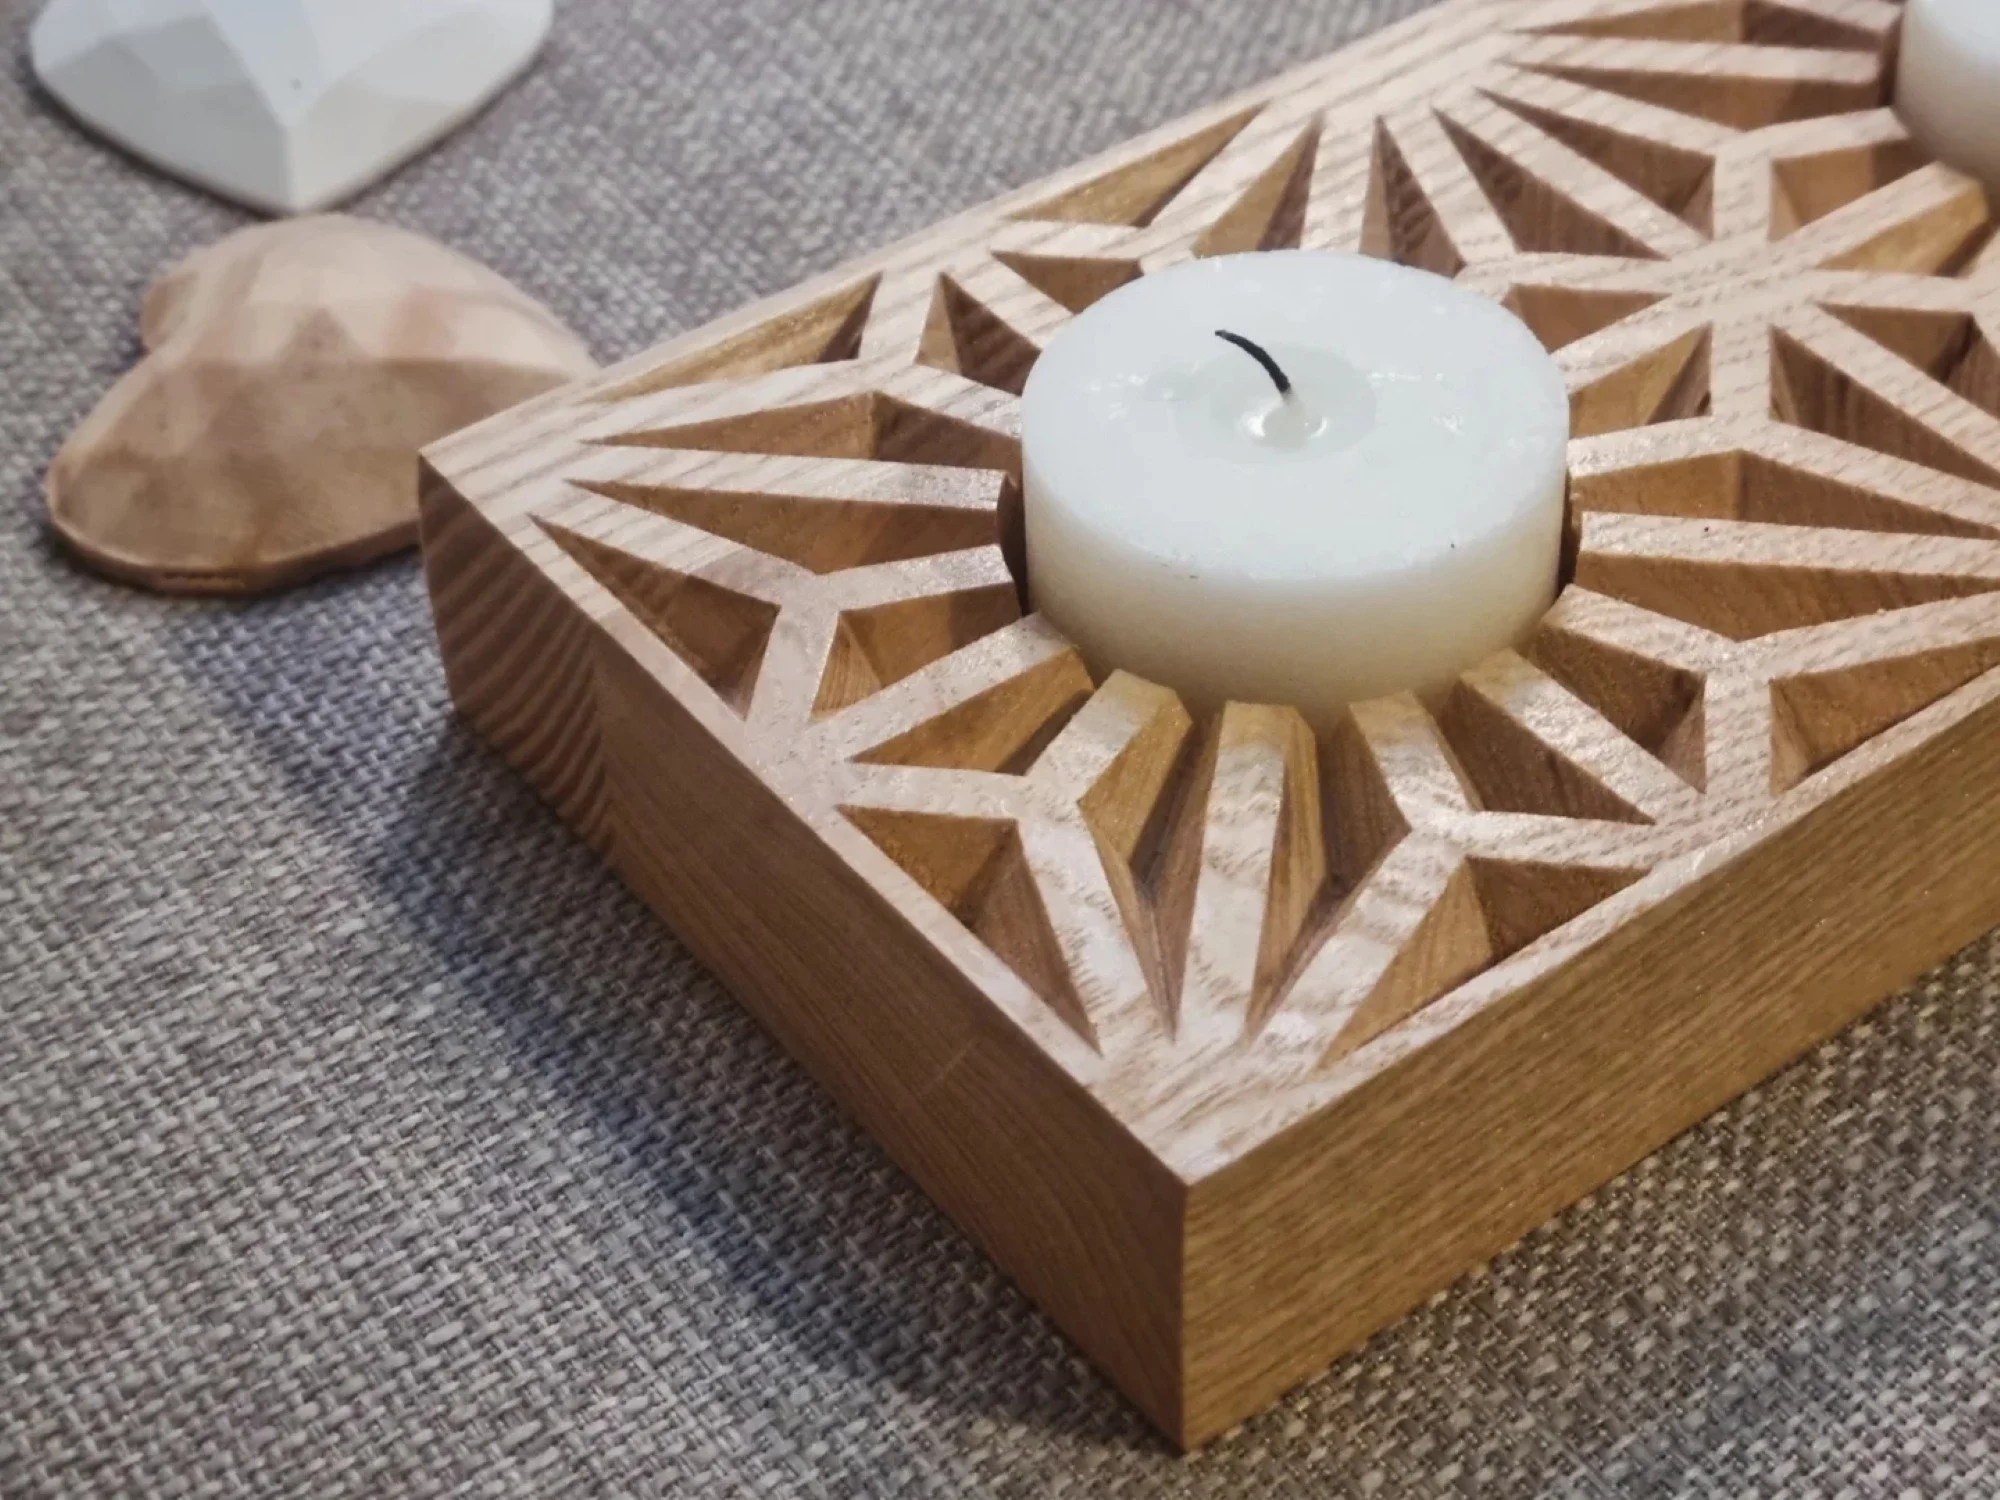
Traditional Kumiko involves painstakingly assembling dozens of individual wooden pieces. We've turned that approach on its head - this piece is carved from a single, solid block of timber. No assembly required. No glue, no joinery, just pure form carved out of solid wood.
Now, before any traditional woodworkers sharpen their pitchforks - we're not saying this is better than the traditional method. It's different. It's our way of playing with the design language of Kumiko while making it accessible to makers with CNC equipment. Instead of chisels and hand planes, it's precision machining that shapes every contour. The result is still that seamless fusion of geometric precision and natural material that makes Kumiko so captivating.
The first time you see the pattern emerge from the timber is pretty special. Even better is when you drop a tealight in for the first time and watch the geometric shadows dance across nearby surfaces. It's a piece that reveals new details depending on the time of day and angle of light - always a good sign of thoughtful design.
The Process
Design Phase
We drew this up in Fusion 360, mapping out every angle and dimension to ensure the pattern would work as a single carved piece. Getting the depths right was crucial - too shallow and you lose the dramatic light play, too deep and you risk structural issues. The digital design lets us test and iterate without wasting timber, which is always a win.
Material: American Ash (from a recycled bed frame)
Cutters:
Post Processing
removal of any fuzzies left in the pockets with a small wire brush
a couple of passes with an orbital sander using various grits
Finishing: a couple of coats of Feast Watson’s Kitchen TImber Oil
Making it your own
This is where things get really fun, because there's so much room for experimentation:
Try different materials. Walnut for instance would look absolutely stunning - the dark grain against the geometric precision. Try your hand at manufactured materials such as plywood or metals like aluminum and brass.
Play with finishes. A natural oil finish lets the wood speak for itself, but we've also seen beautiful results with subtle staining. Even tried a distressed effect once that made it look like an antique heirloom.
Scale it to suit your timber. Got some scrap offcuts that are a different size? No worries - scale the whole thing to suit whatever you've got lying around. Waste not, want not.
Swap out the candle situation. Standard design fits 38mm tealights with a bit of clearance, but you could easily modify it for larger candles or drop in coloured glass votives for a completely different effect.
Inset it into furniture. This is one we're itching to try - imagine this pattern inset into a tabletop or shelf. The effect would be incredible, especially for a meditation space or reading nook.
A slight detour
They say you should “lean into your mistakes”… We think they’re right, as the results are often unique and pulls you into newfound areas! What went wrong you ask?
The wrong V-bit was selected in the original operation in Fusion 360, mixing a 90° with a 60° will either blow out your shape or trace within the shape resulting in a sort of star shaped pattern.
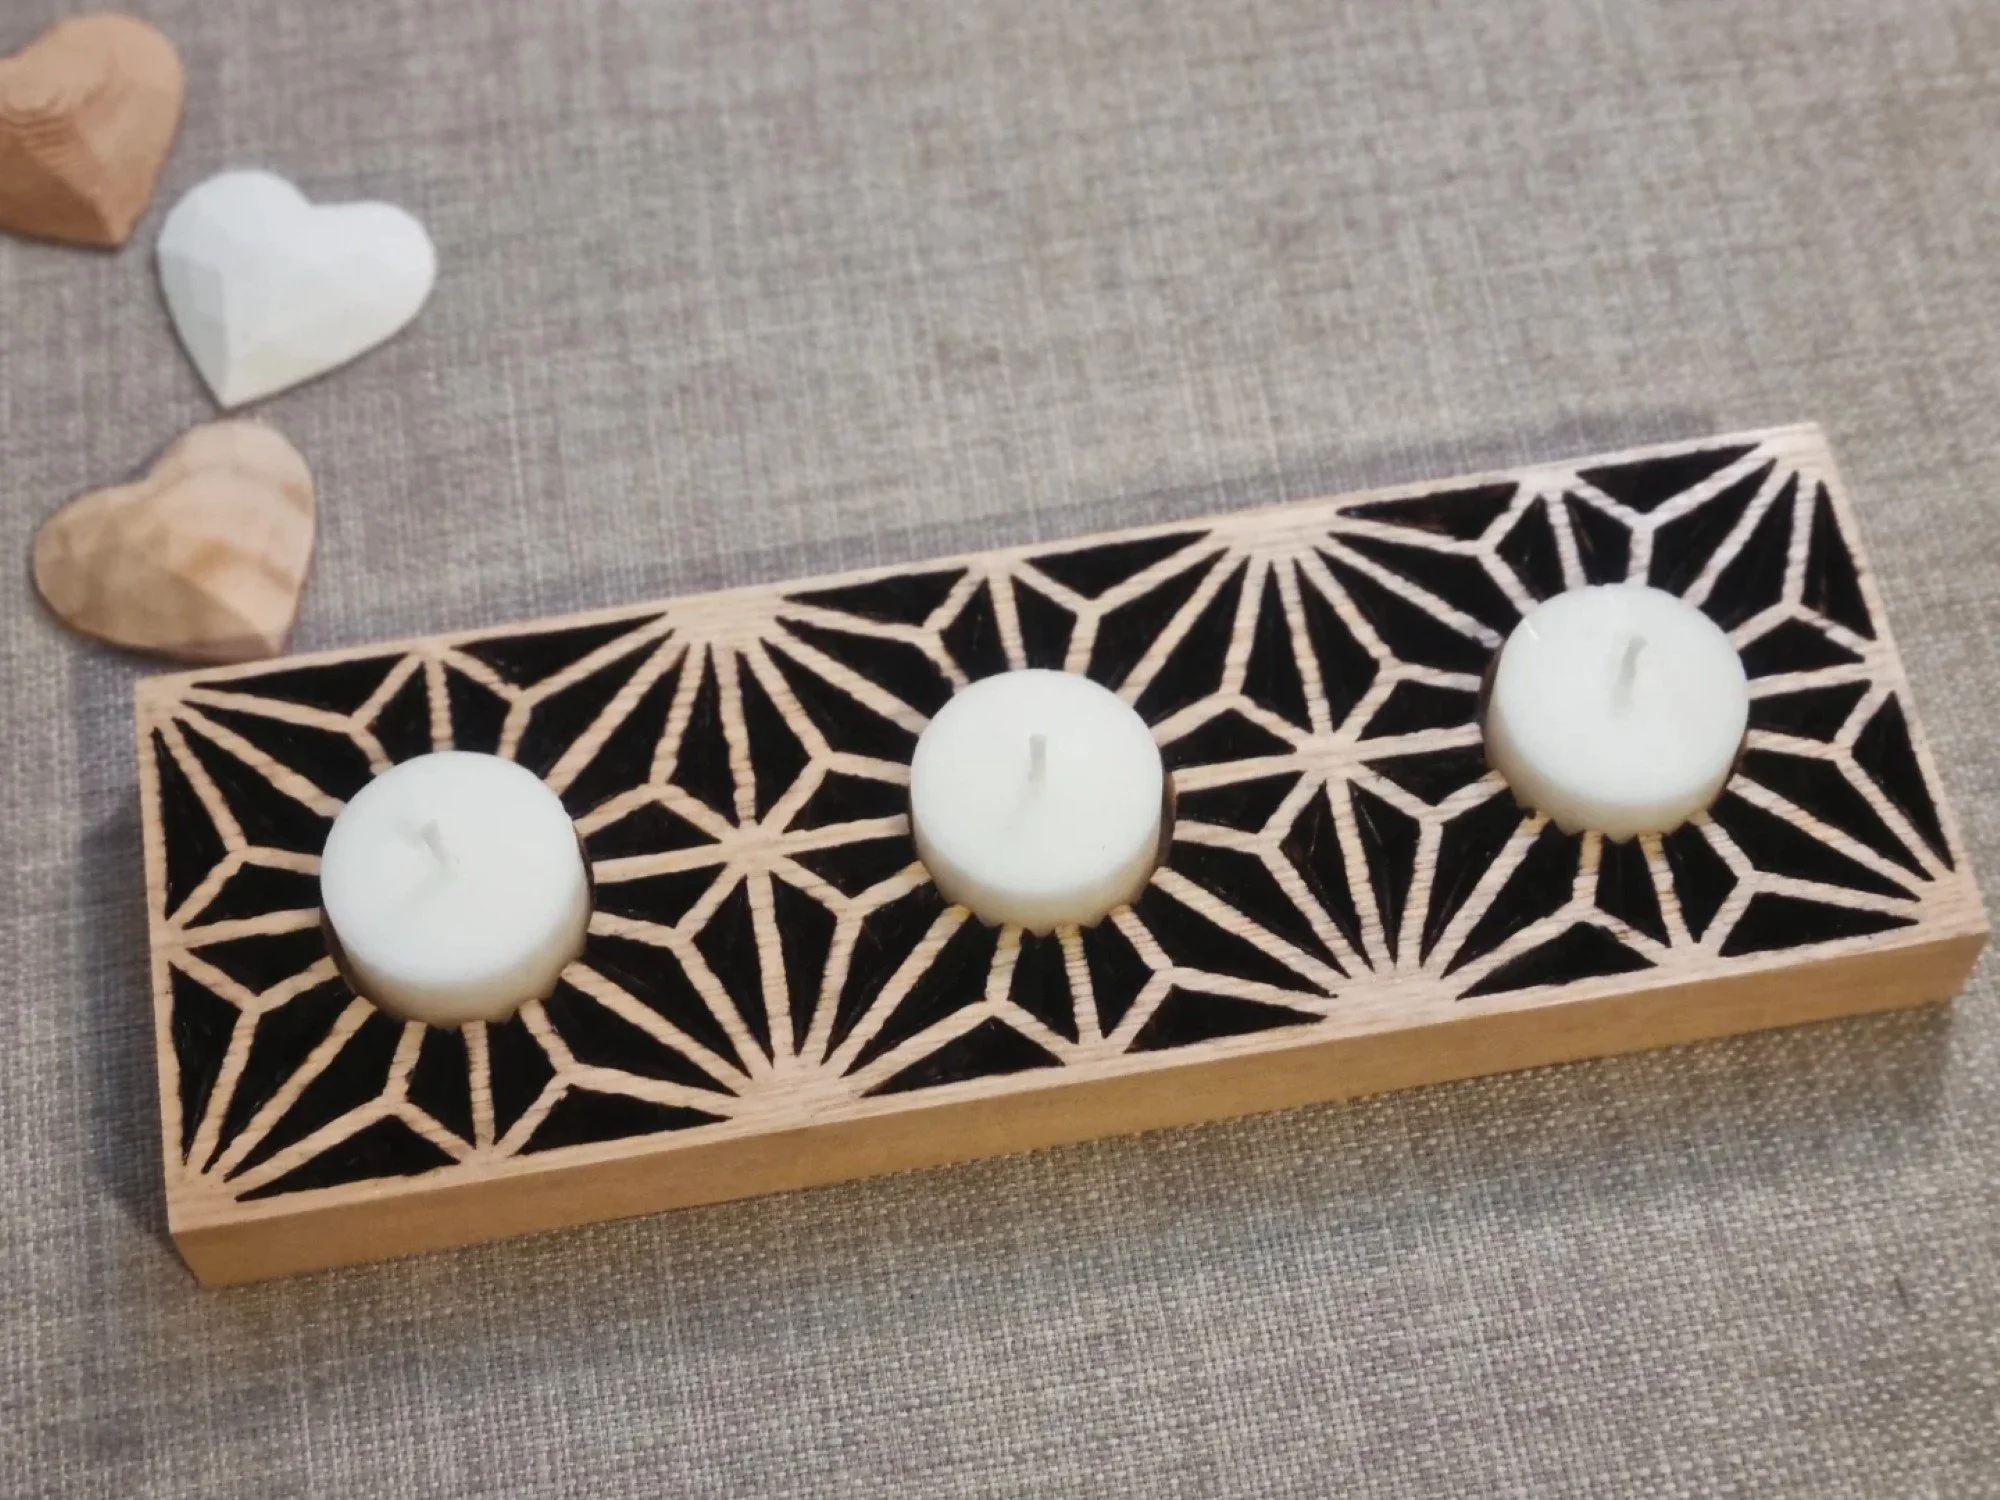
Take two on the V-Bit operation and we realised the feeds and speeds were out as the bit was engaging with the wood for longer and deeper passes. This resulted in some charring along the pocket walls. This was down to using feeds and speeds more suitable for a softwood like Pine instead of a hardwood species like Ash.
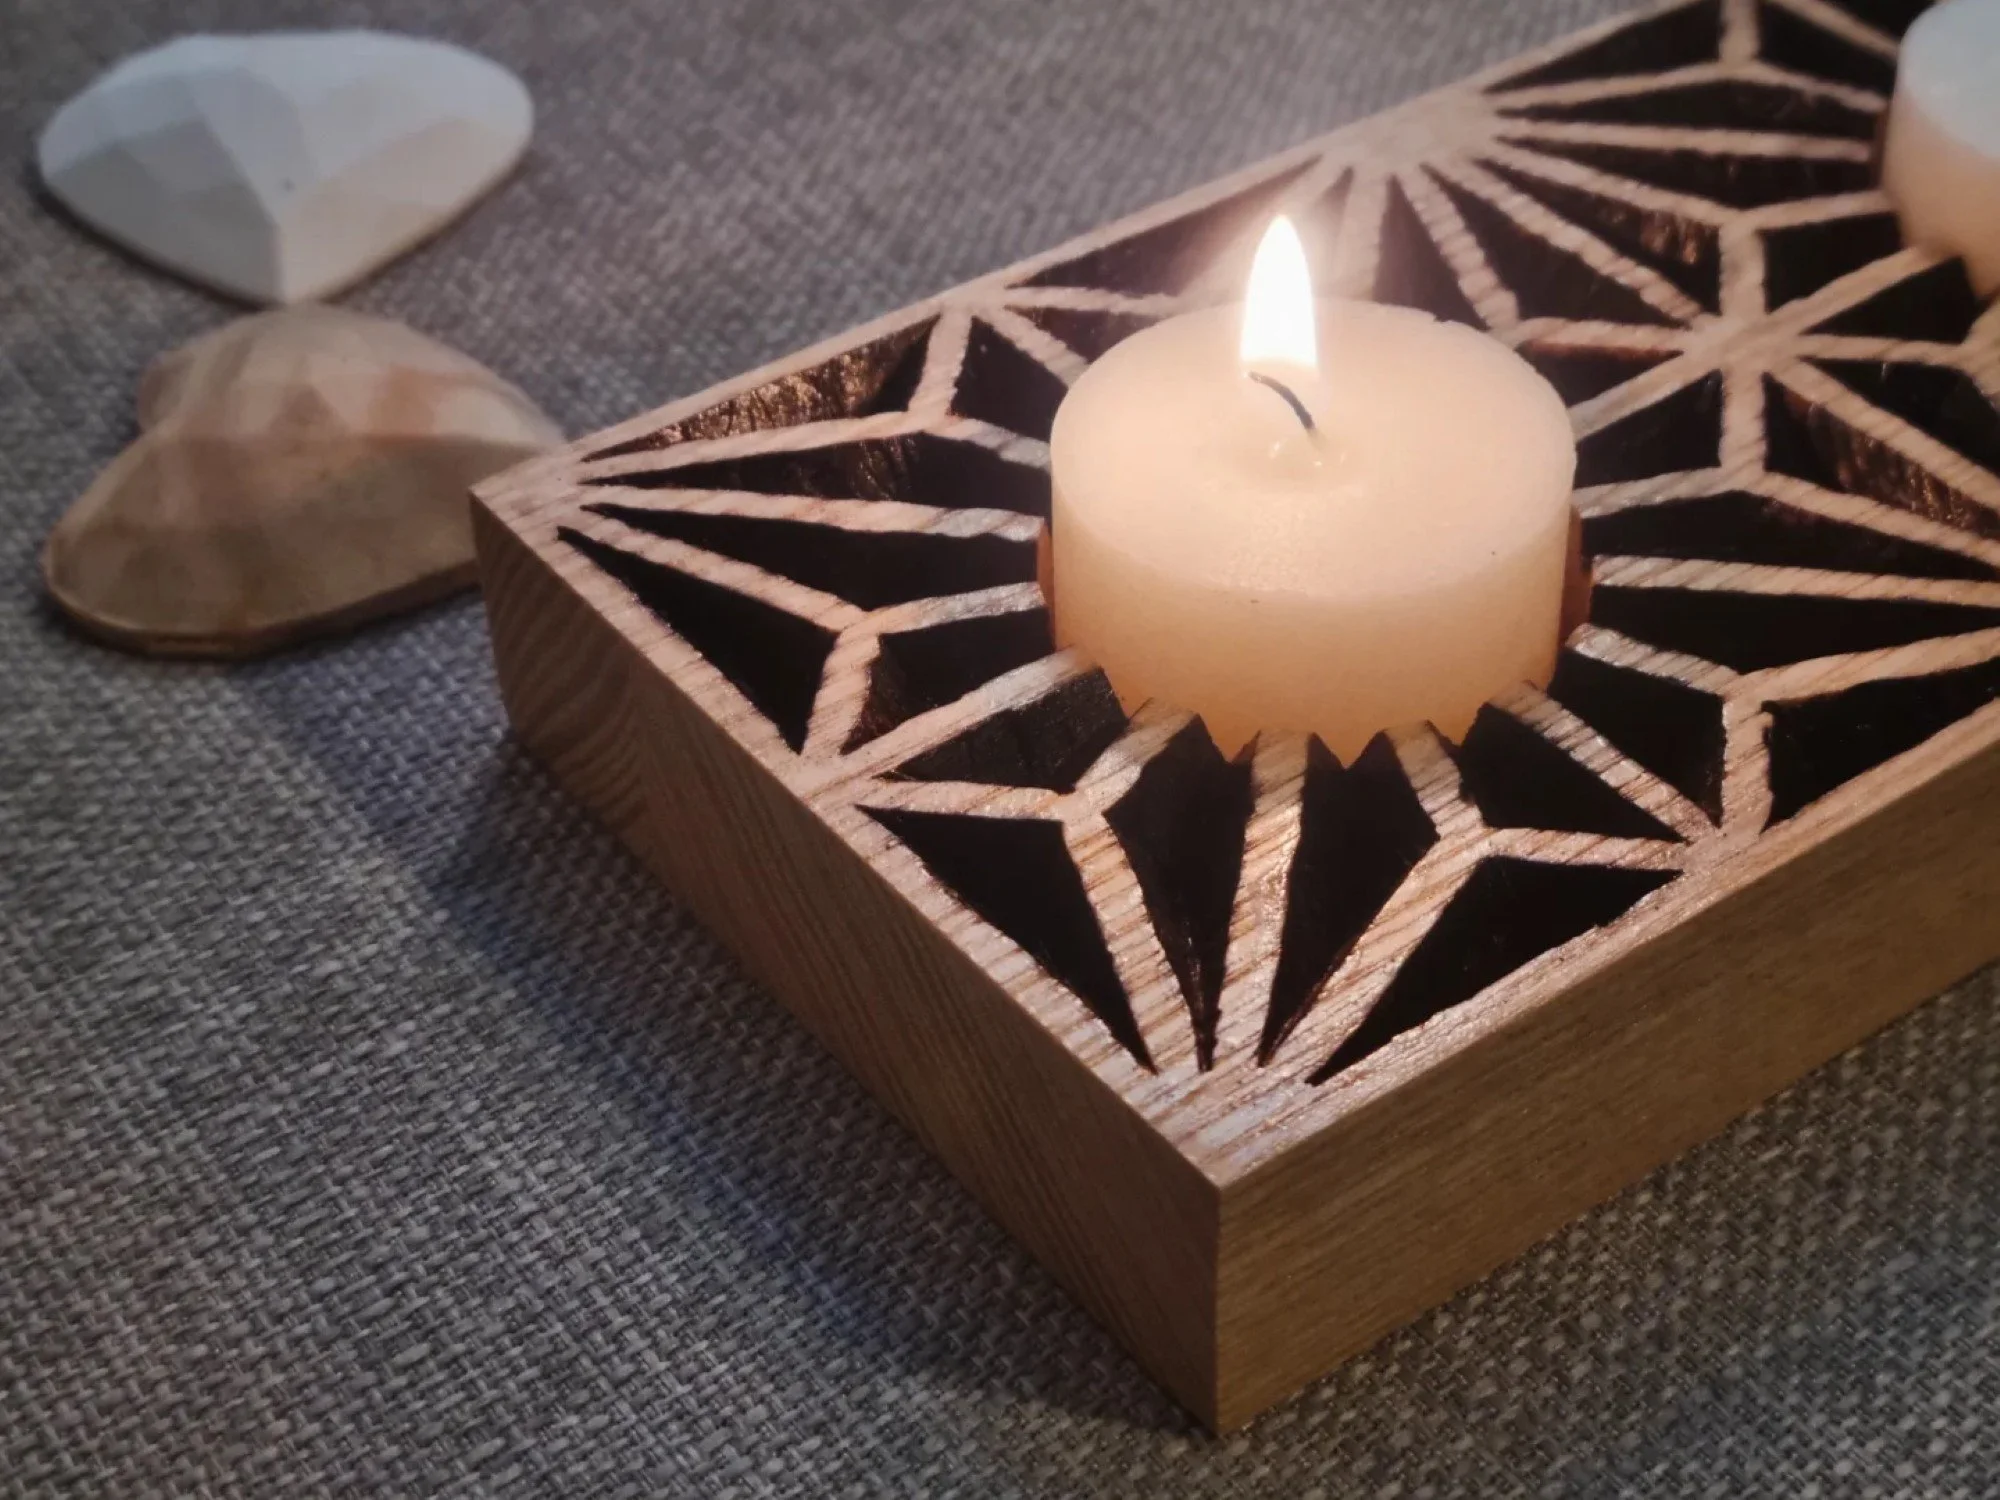
So, what did we do with this? We decided to make what might very well be the first Shou sugi ban and Kumiko crossover in history (made on a CNC at least 😂). Just like our Kumiko was non-traditional you could probably say the same for our attempt at Shou sugi ban. Having previously tried, and failed, to use a blow torch to get into recessed/carved areas of timber to get a nice charred effect in the background with a light and bright wood colour in the foreground. We decided it was time to invest in a Pyrography kit and knuckle down for what turned into an hours long lesson in patience by creating the effect by hand instead. Athletes talk about being in the zone and this was possibly a Maker’s equivalent, with mesmerising little puffs of smoke travelling along the wood fibres and seeping out of the Kumiko pockets keeping me in the game!
Check out the results for yourself via this short video (Pyrography - so hot right now!) and the pictures below - it was a lot of manual labour but the end result was certainly unique and not at all where we thought we’d end up!
Why digital files?
Part of our philosophy here at Threadbuilt is making design accessible to everyone. Whether you've got a CNC router in your garage, access to a local makerspace, or you're planning to send files to a fabrication shop - we've got you covered with multiple file formats (3MF, STL, DXF, SVG).
It also means you can source materials locally, which saves on shipping costs and waste. Plus, you get to choose exactly what timber species works for your project and budget. Win-win.
What's coming next
This Asanoha tealight holder is just the beginning. We've fallen a bit in love with Kumiko patterns and the geometric possibilities they present. There are dozens of traditional patterns we're keen to explore - some more intricate, some simpler, all beautiful in their own way.
We're already sketching out ideas for larger statement pieces, different functional objects, and maybe even some wall art applications. If there's a particular Kumiko pattern you'd love to see, or if you've got ideas for how to push these designs further - seriously, drop us a line at threadbuilt@gmail.com. We're always up for a collaboration or a creative challenge.
Get making
Whether you're grabbing our digital files to make your own or waiting for finished pieces (coming soon!), you're participating in something pretty cool - the evolution of craft, where centuries-old design languages meet modern fabrication methods. It's not about replacing traditional techniques, it's about making these beautiful patterns accessible to more makers, in more places, with more opportunities for creativity.
Now go make something beautiful. And when you light that first candle and watch the shadows play across your walls, send us a picture. We absolutely love seeing what you create.
![Image: Atmospheric shot of the tealight holder in a styled setting - perhaps on a shelf with books, or as part of a meditation space]
Ready to get started? Grab the Asanoha Kumiko Tealight Holder digital files from our shop. Stay tuned for more Kumiko designs - we've got some exciting patterns in the works!